SOP – Fiverr Website Project Task Creation (ClickUp & Discord)
🎯 Objective
Create a single, repeatable system for setting up Fiverr website projects in ClickUp so no critical detail is missed and every team member works from the same source of truth.
🧱 Scope
This SOP applies to all Fiverr website development projects without exception.
🛠️ Tool Used
- ClickUp (Task Template: Client's Fiverr Username – Project Type)
🧭 Step-by-Step Process (With Screenshots)
Follow these steps in the same order every time. Insert the relevant screenshot under each step when documenting.
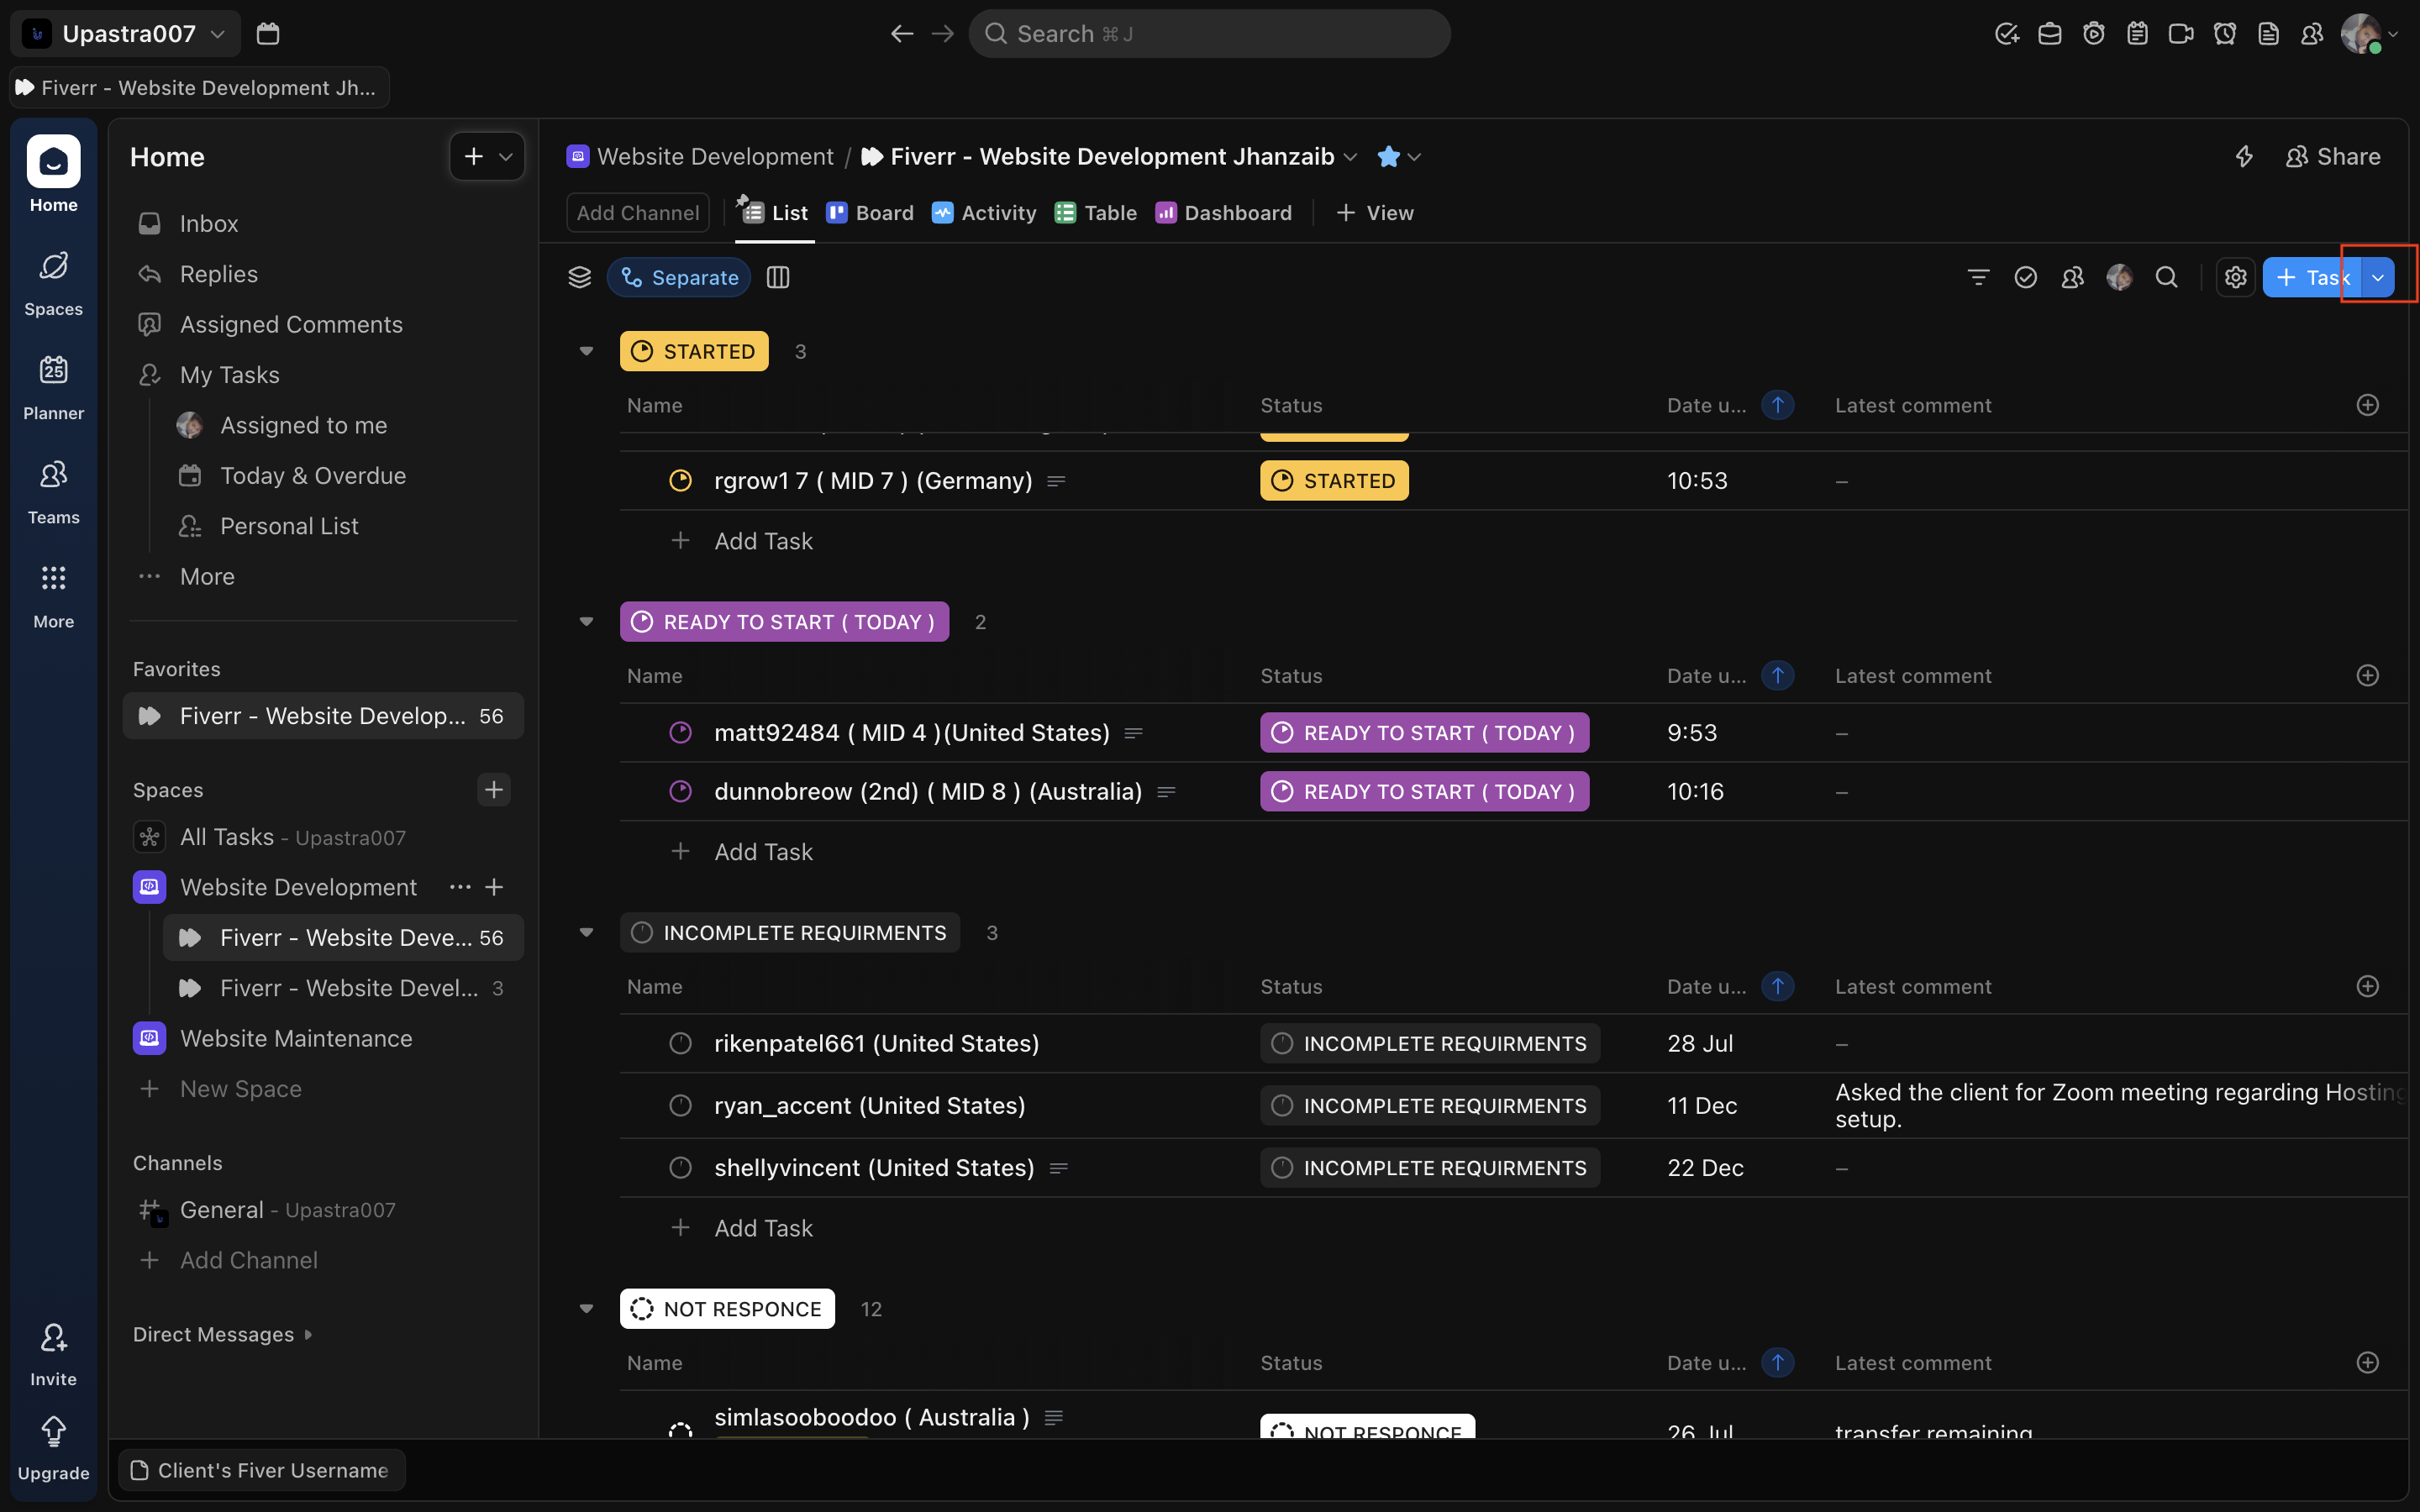
🔹 Step 1: Click + Task
- Go to the correct Fiverr Website Development list
- Click + Task (top-right)
Screenshot: Task button highlighted
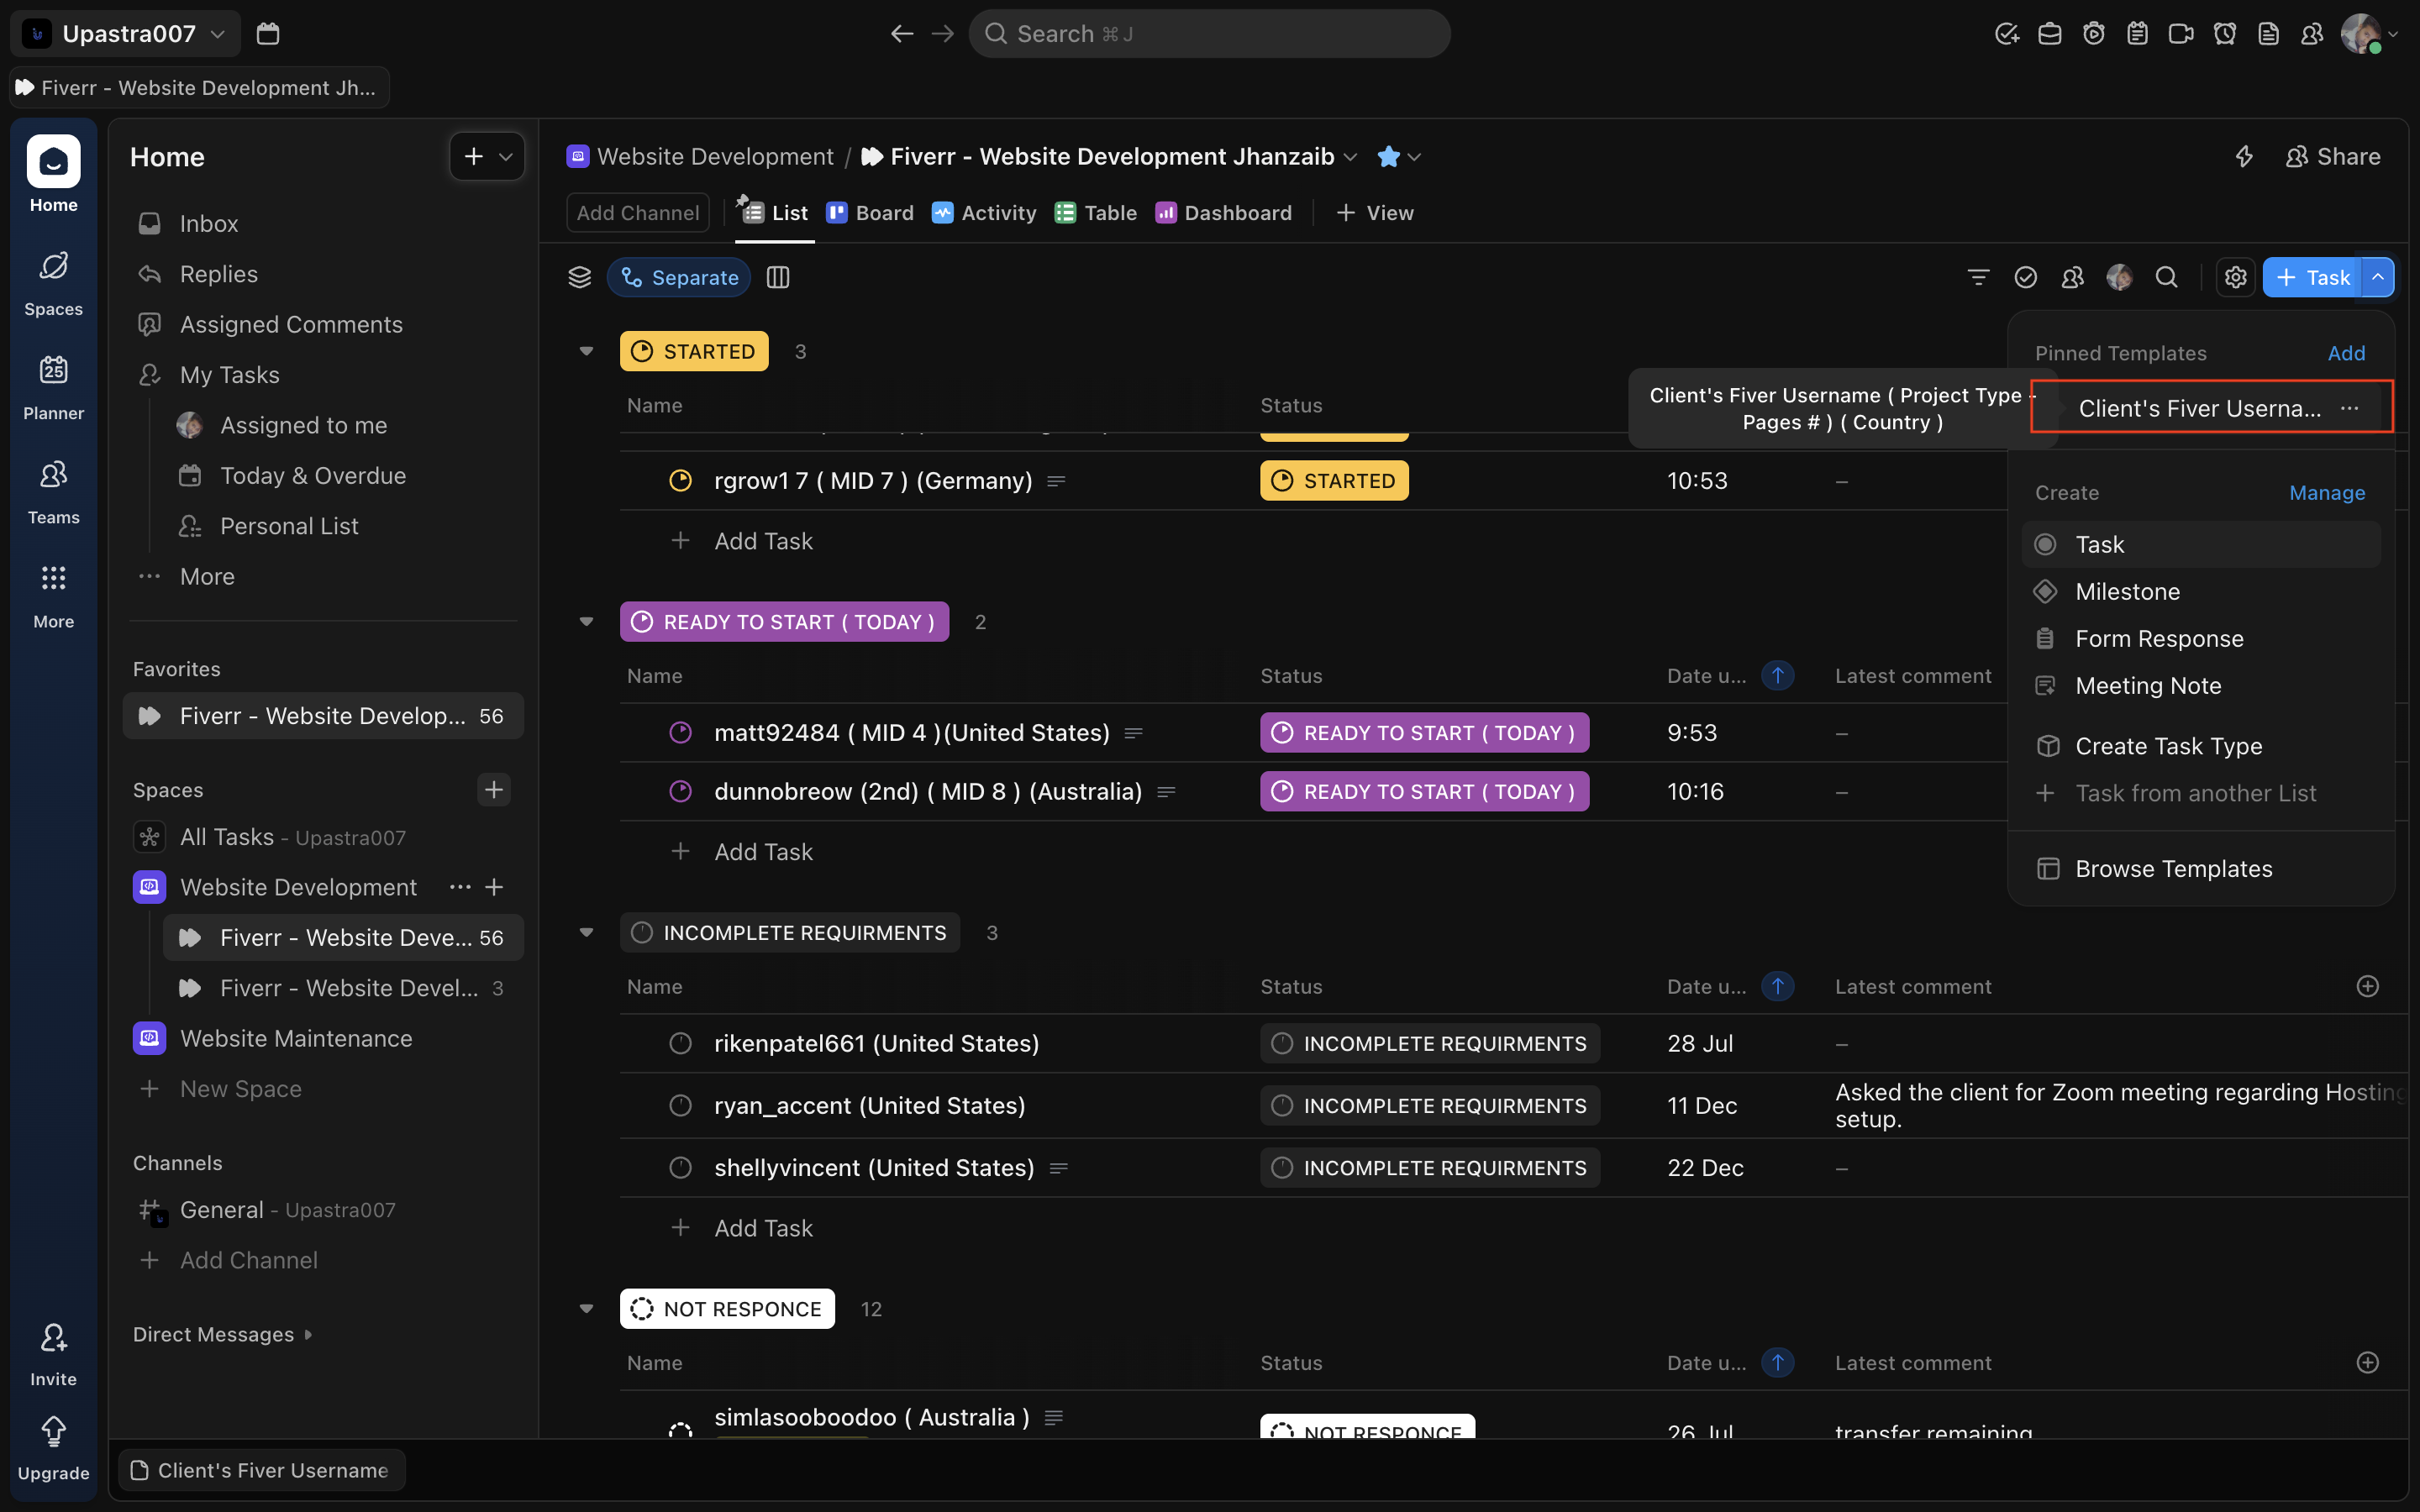
🔹 Step 2: Select the Approved Task Template
- From Pinned Templates, select:
Client's Fiverr Username ( Project Type – Pages # ) ( Country ) - Do NOT create a blank task
Screenshot: Template selection dropdown
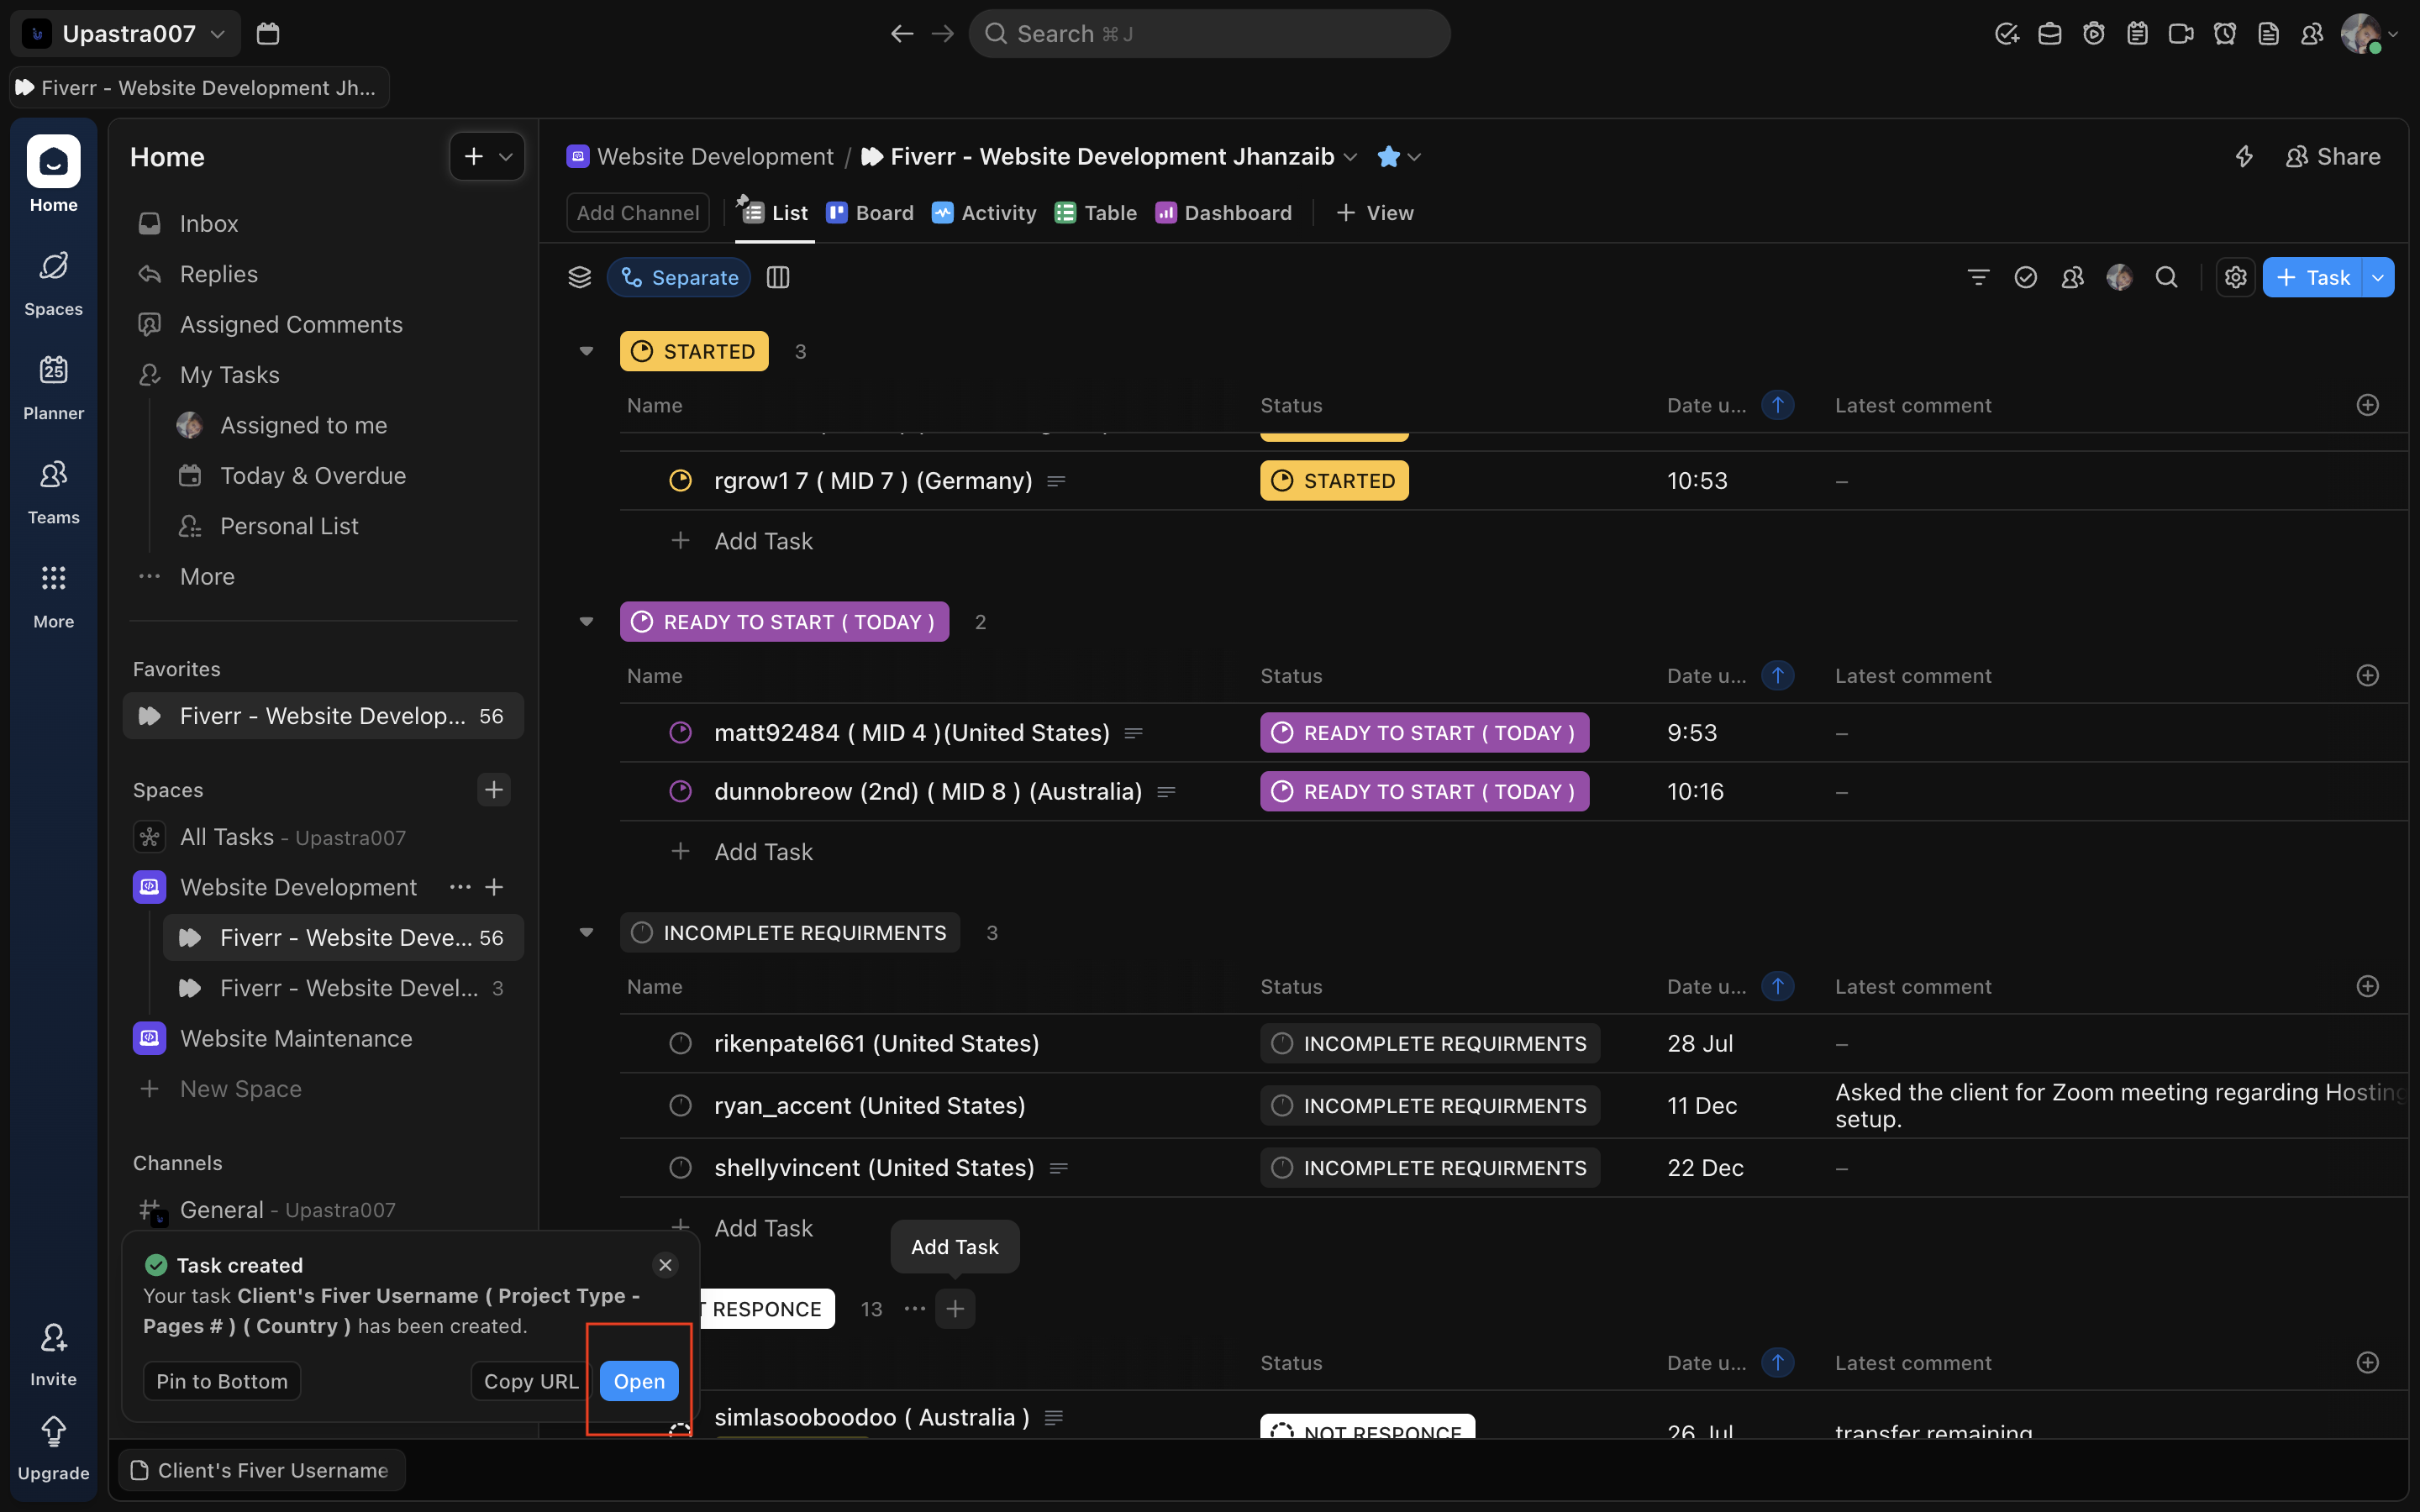
🔹 Step 3: Open the Newly Created Task
- Once the task is created, click Open
- You must complete all required fields before moving the status
Screenshot: Open task button
🔹 Step 4: Rename the Task (Mandatory)
Rename the task using this exact format:
Client’s Fiverr Username ( Project Type – Pages # ) ( Country )
Example:
johnsmith123 ( Project Type ( Need to be Added by Project Manager ) – 5 Pages) (United States)
Screenshot: Task title edit

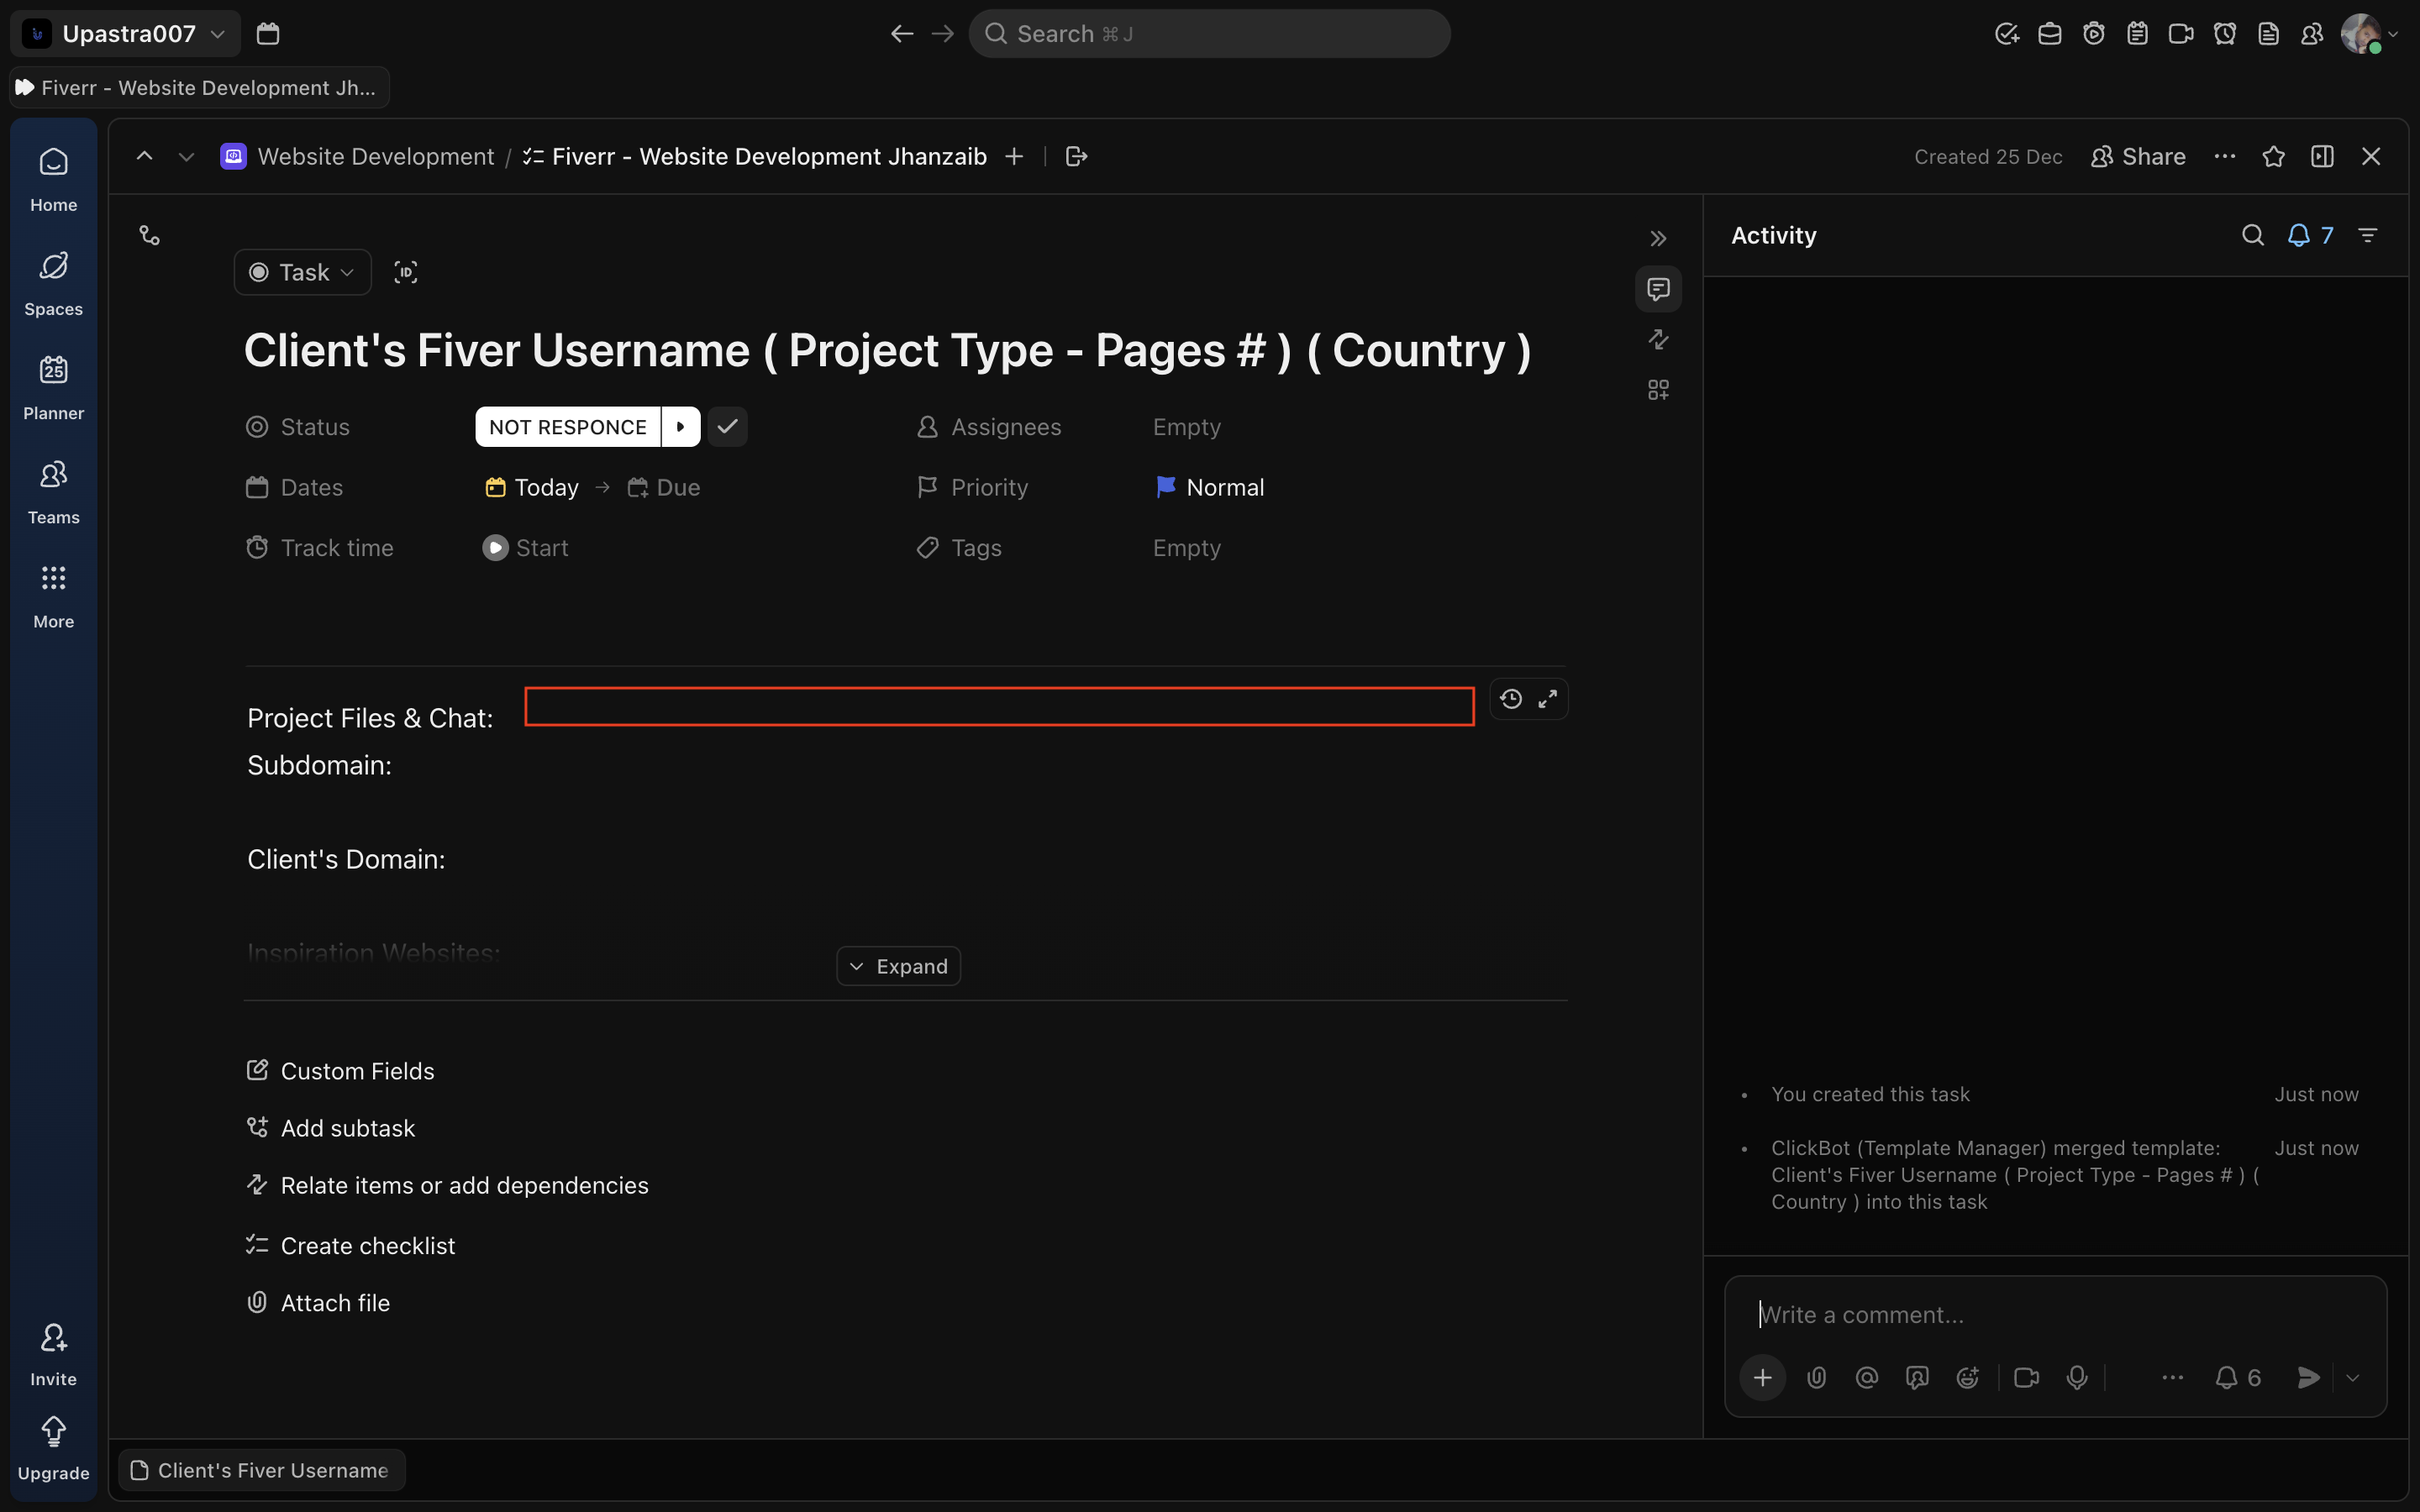
🔹 Step 5: Add Google Drive Link
Under Project Files & Chat:
- Paste the main Google Drive folder link
This folder is the single source of truth for:
- Assets
- Credentials
- References
🚫 No Drive link = task is NOT started
Screenshot: Drive link field
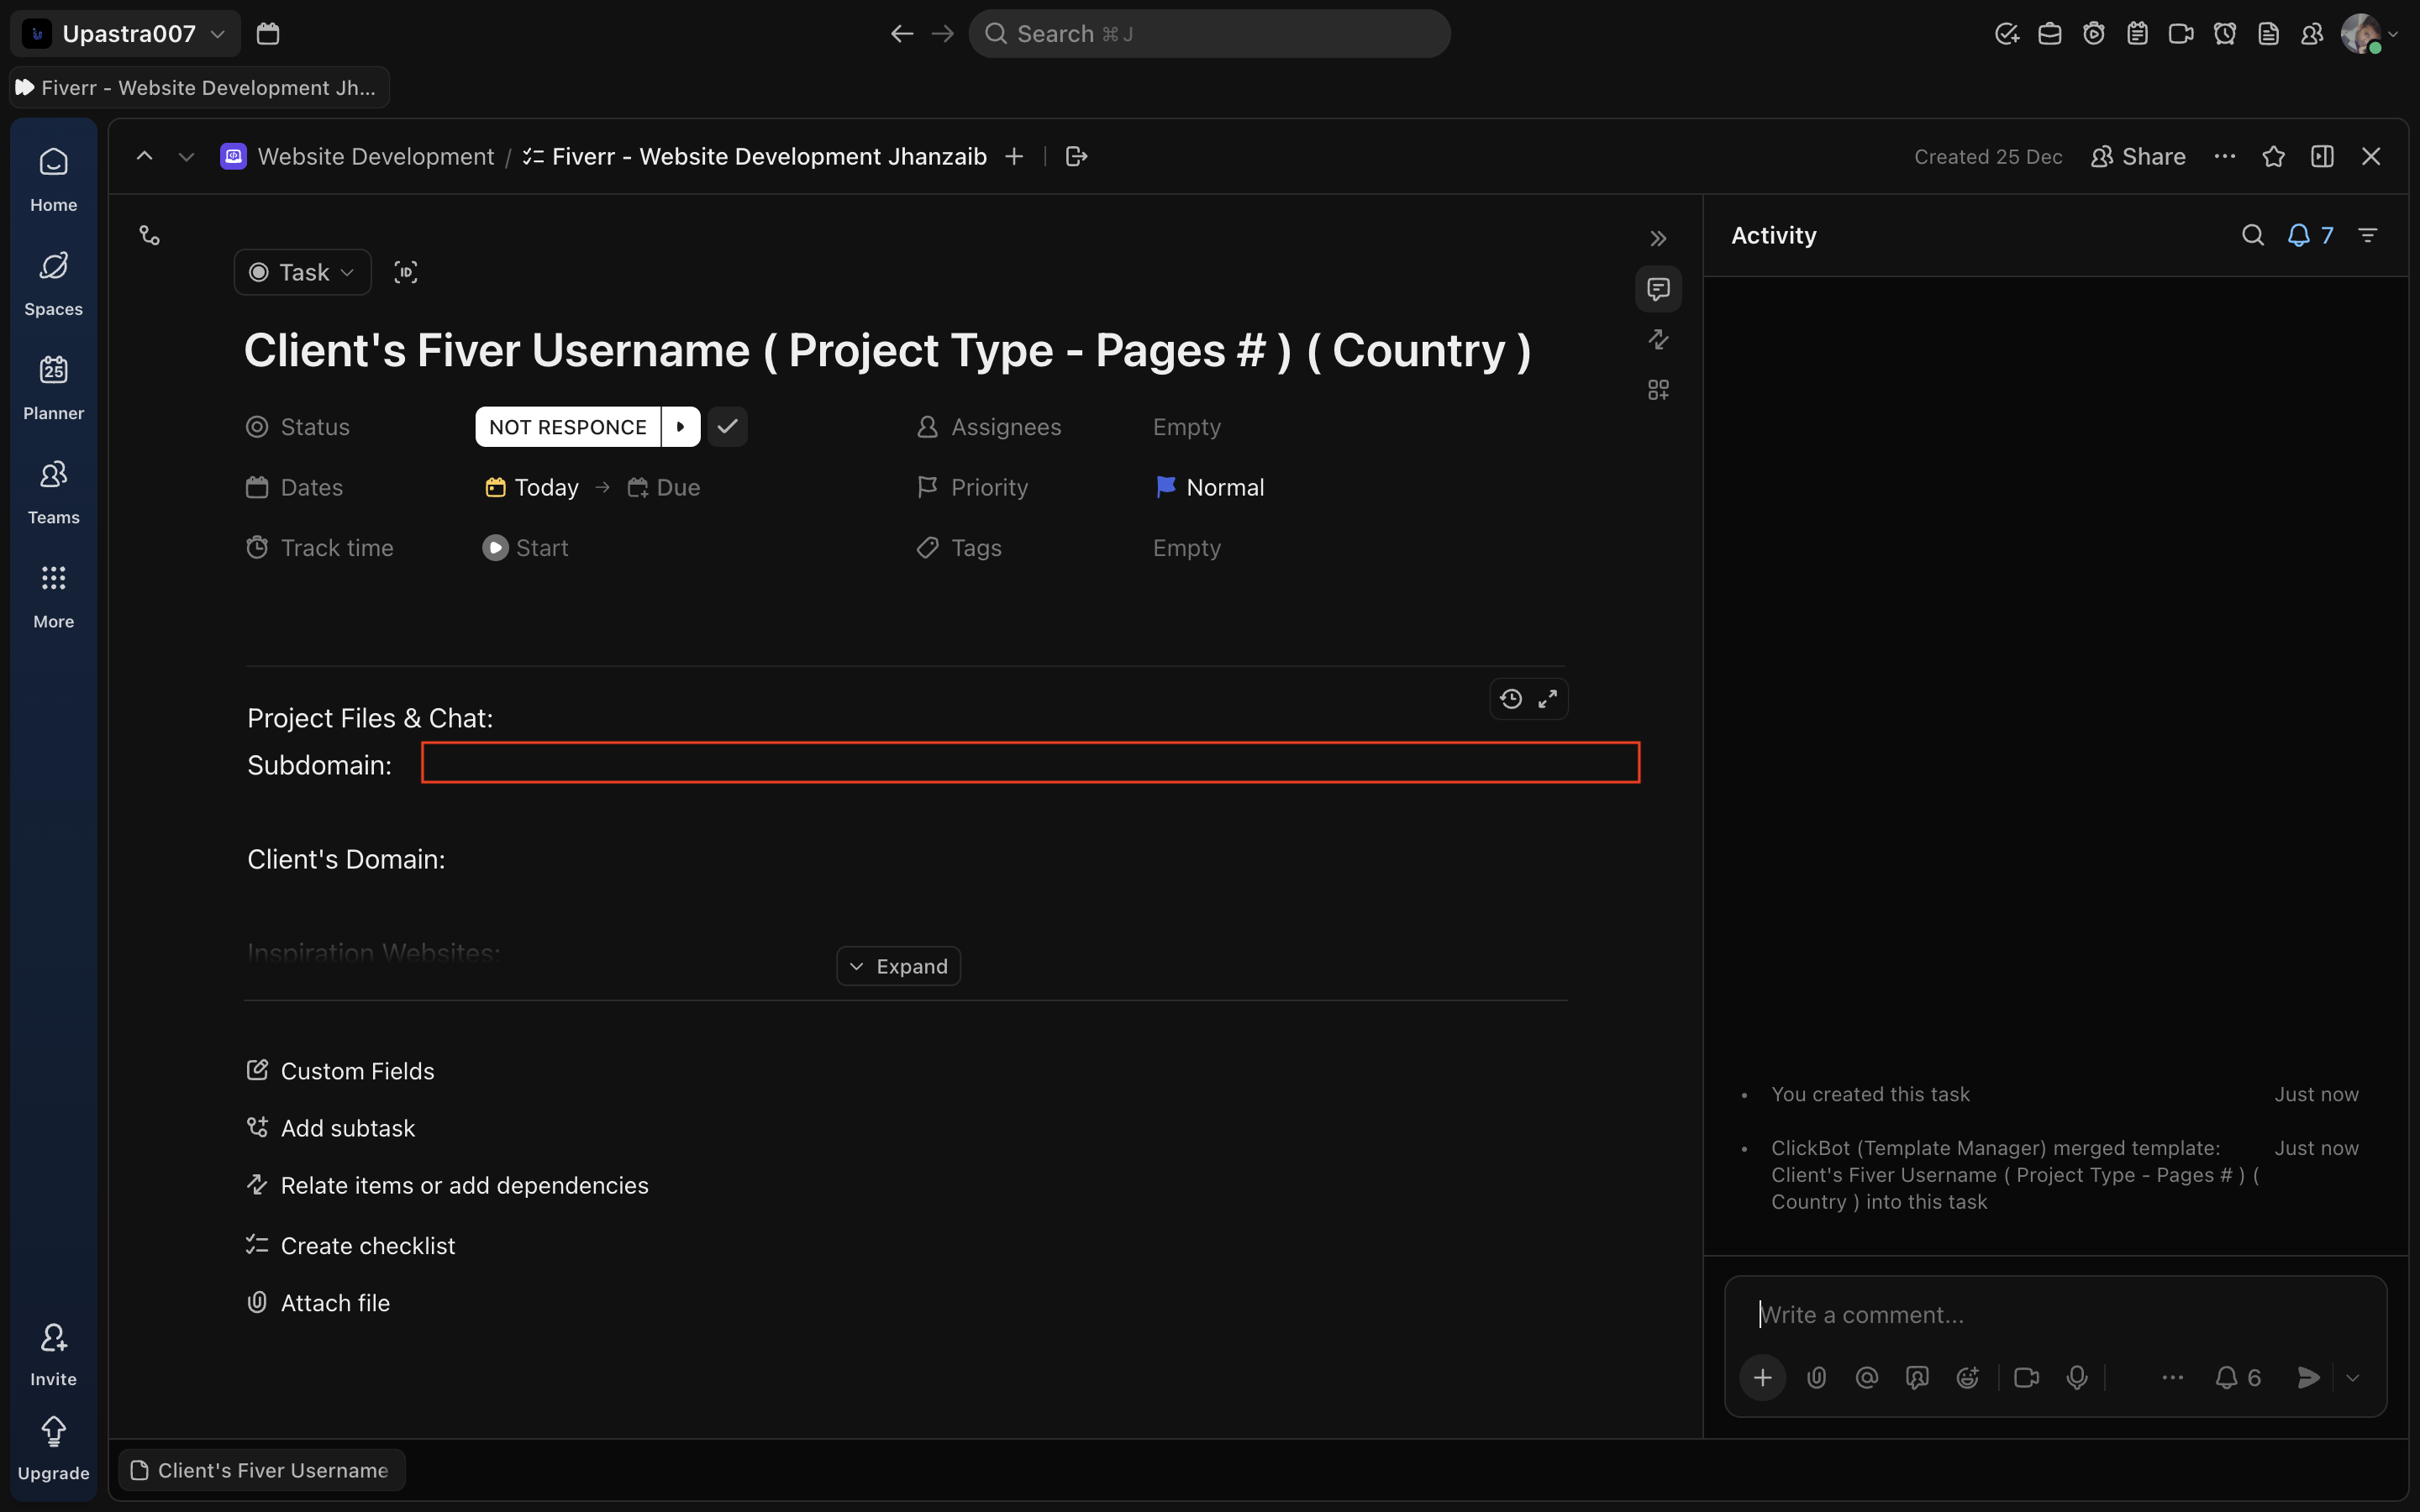
🔹 Step 6: Add Subdomain
Under Subdomain:
- Add the development subdomain once created
Example:
clientname.jehanzaib007.com
Screenshot: Subdomain field
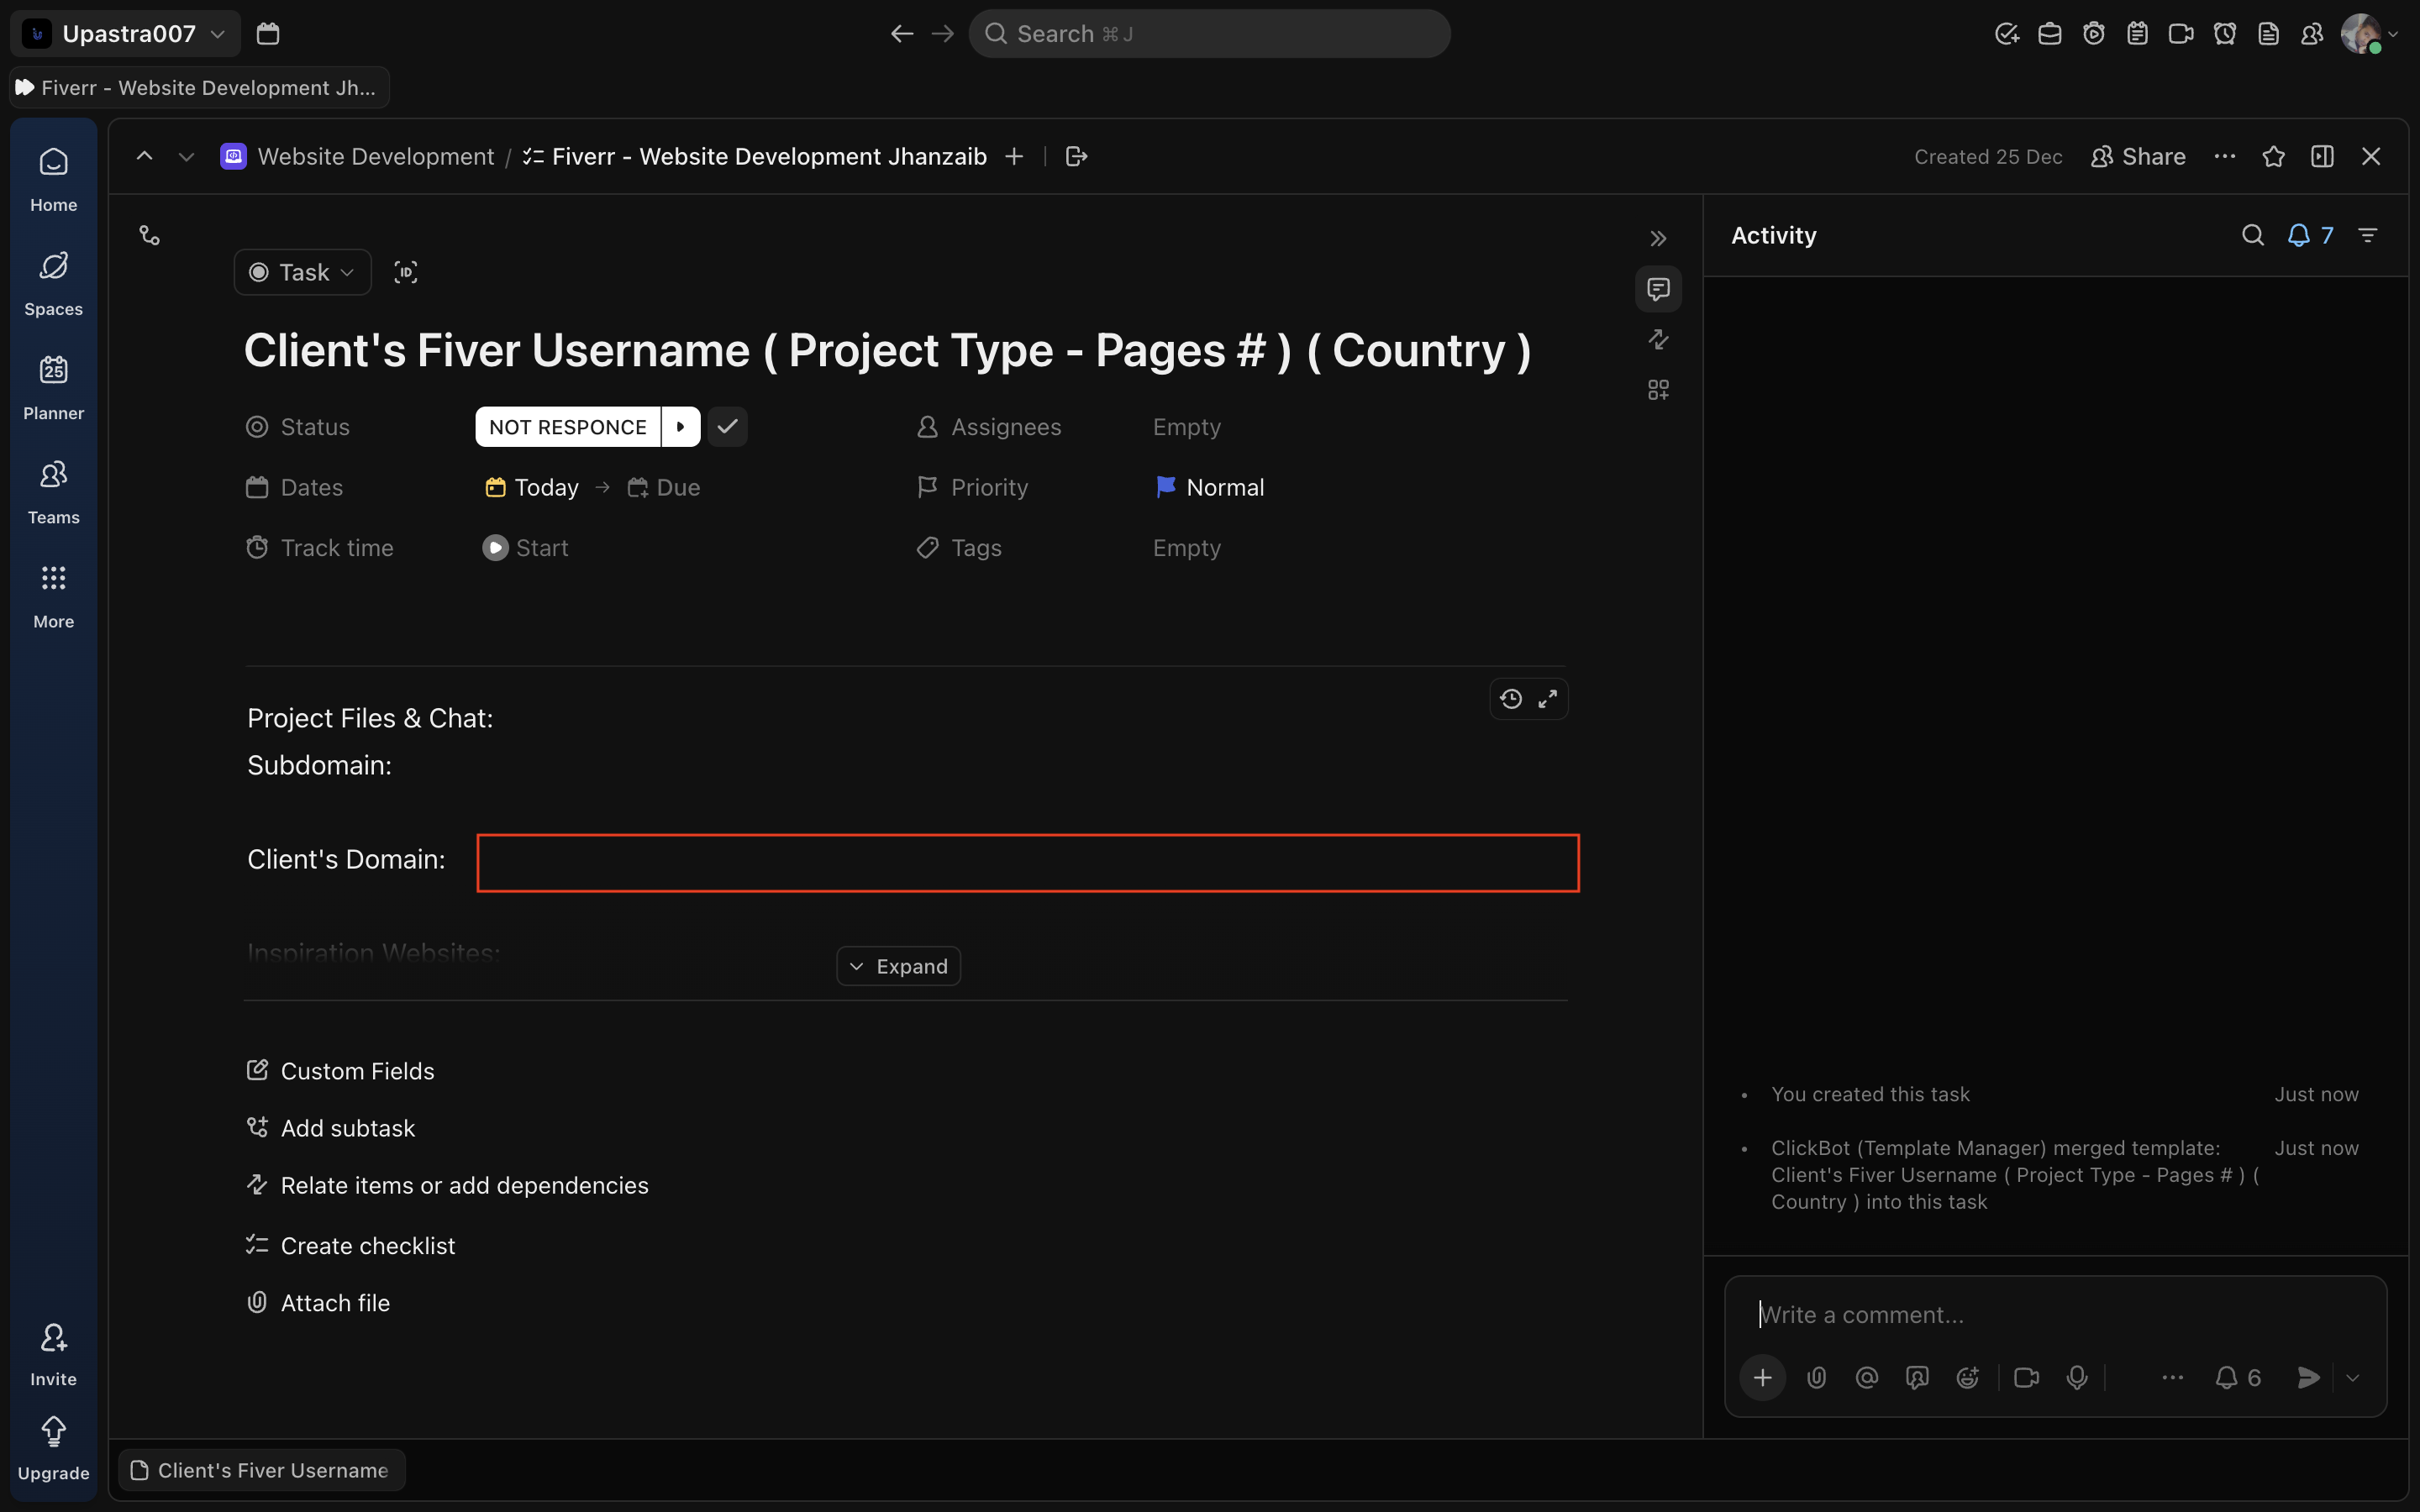
🔹 Step 7: Add Client’s Final Domain
Under Client’s Domain:
- Add the live domain on which we will transfer the website once the project scope is completed or client approves the transfer if client already has any active website on the domain.
Screenshot: Client domain field
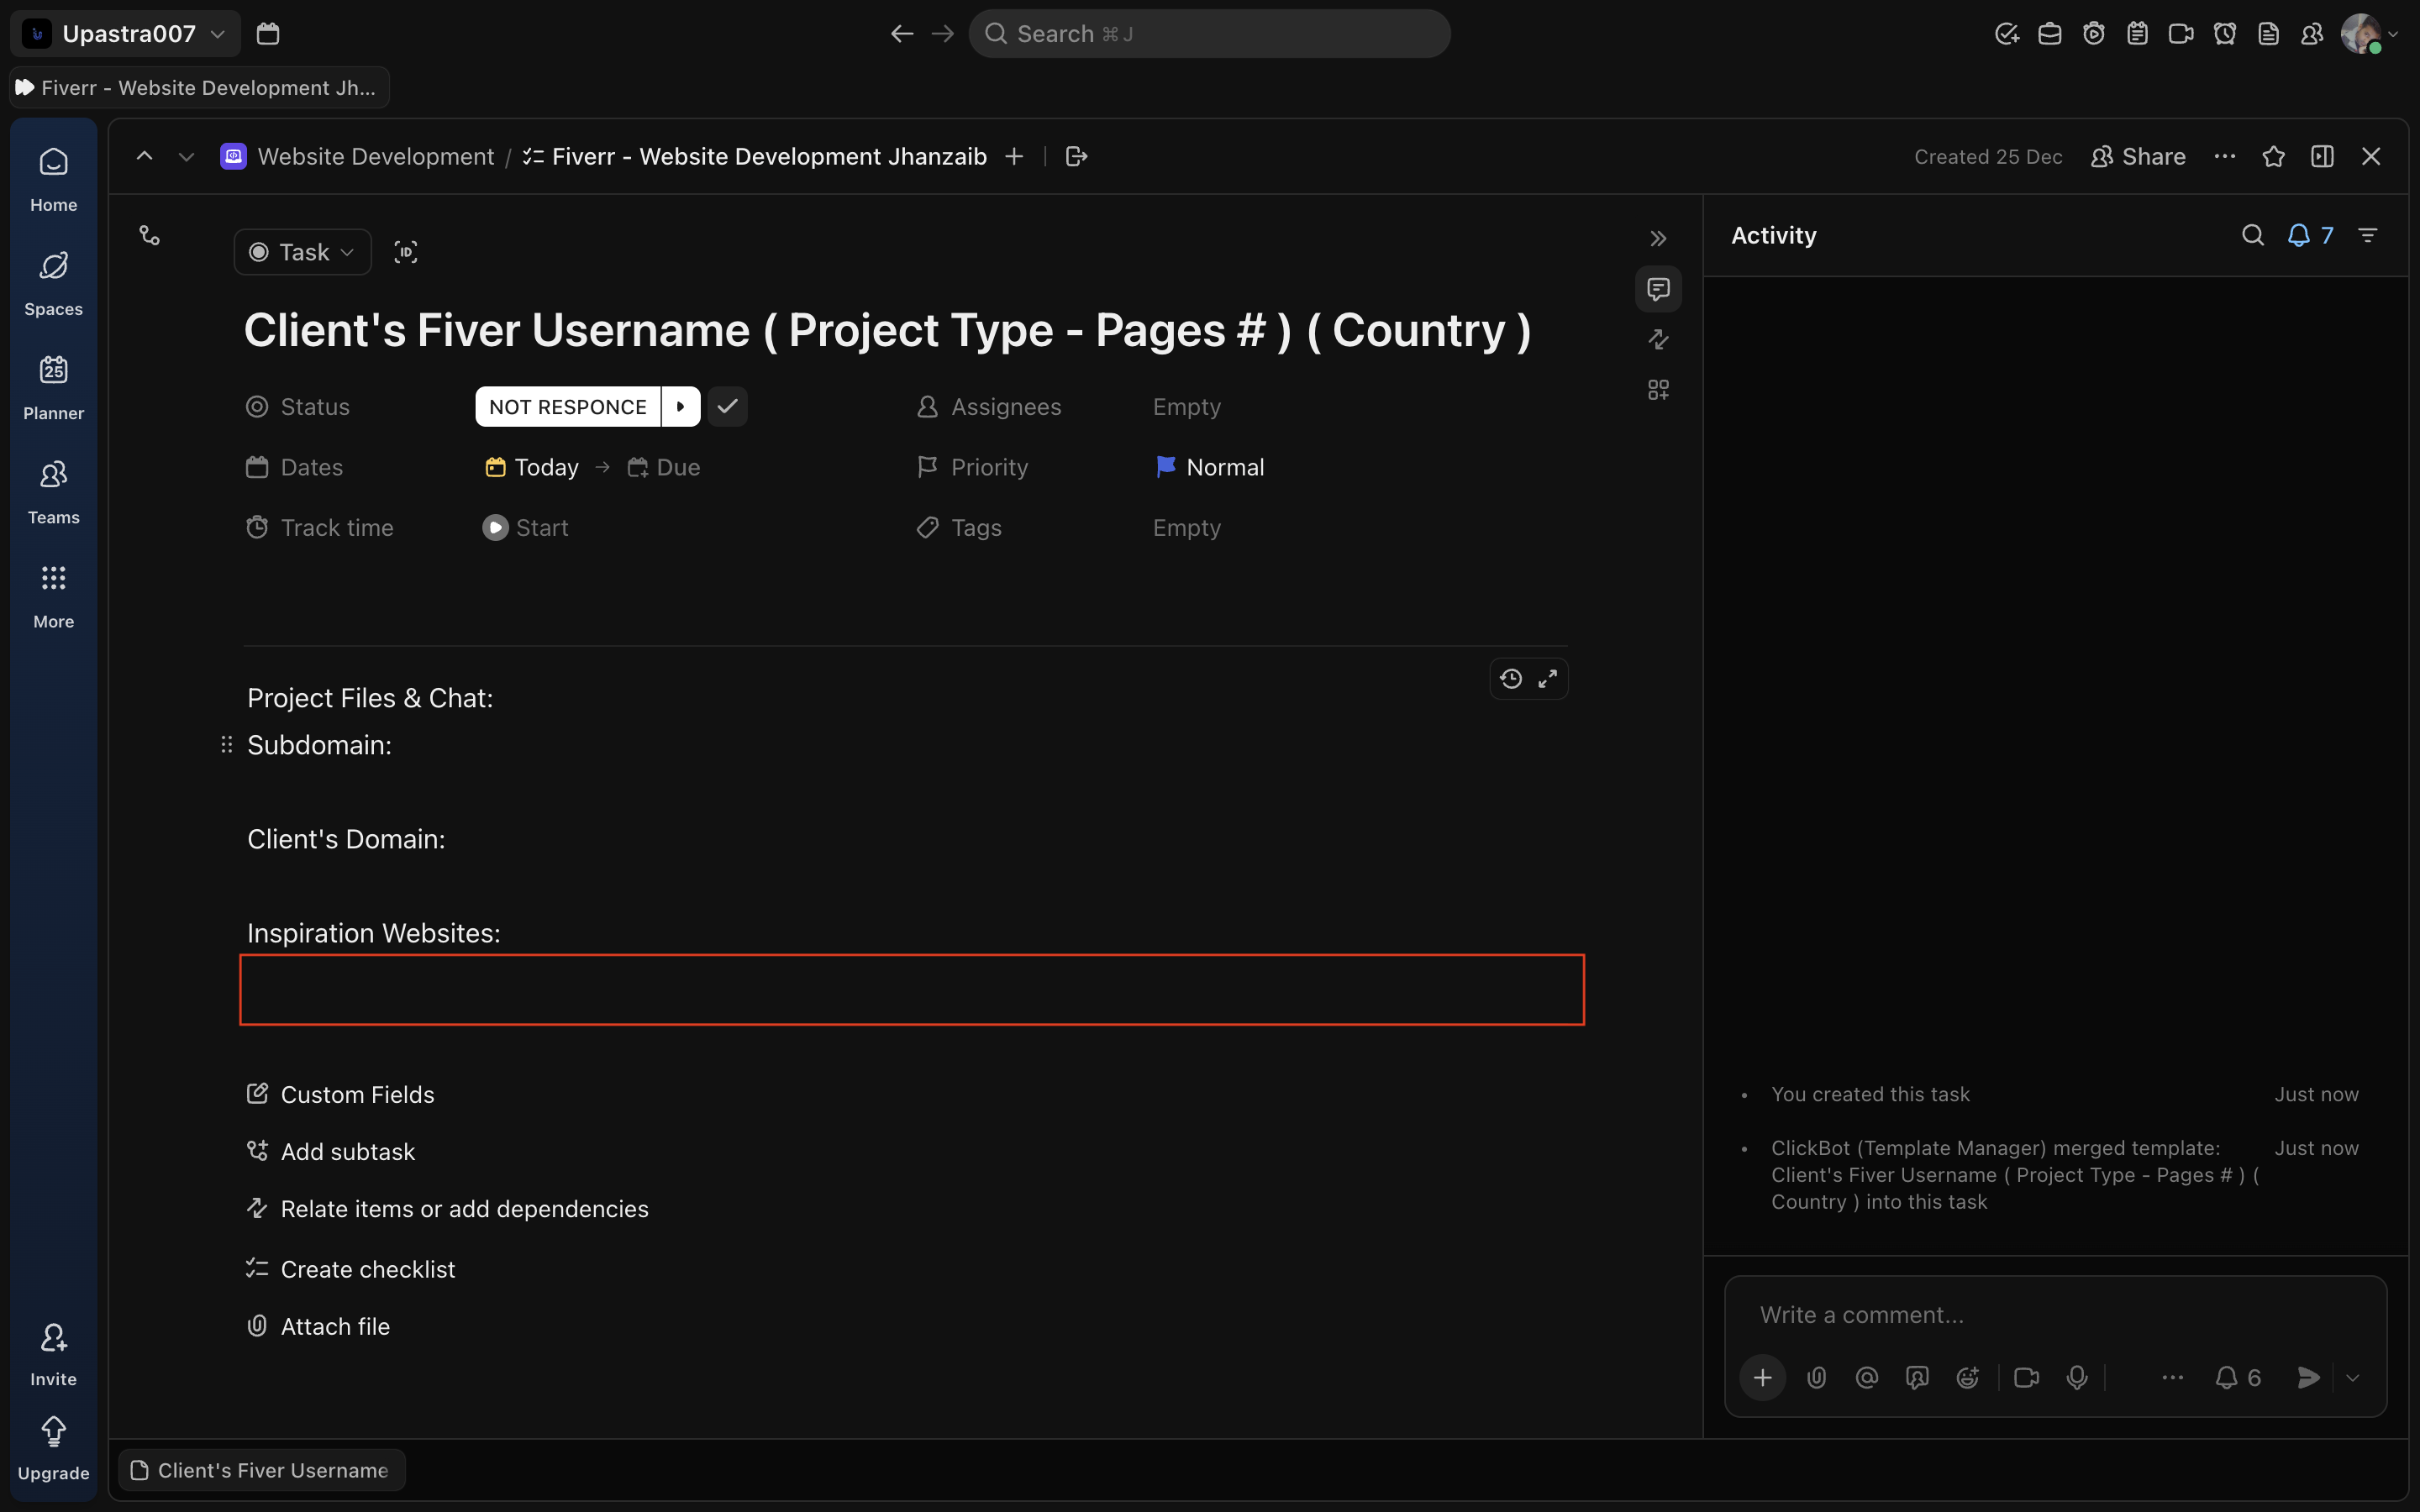
🔹 Step 8: Add Inspiration Websites & Notes
Under Inspiration Websites:
- Paste all reference links shared by the client
- Add short notes if required (layout, colors, structure)
Keep it short and clear.
Screenshot: Inspiration websites field
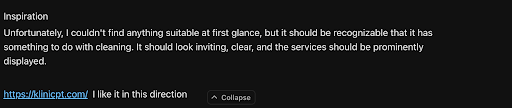
Like This as well: Any notes based on the inspiration given by the client.
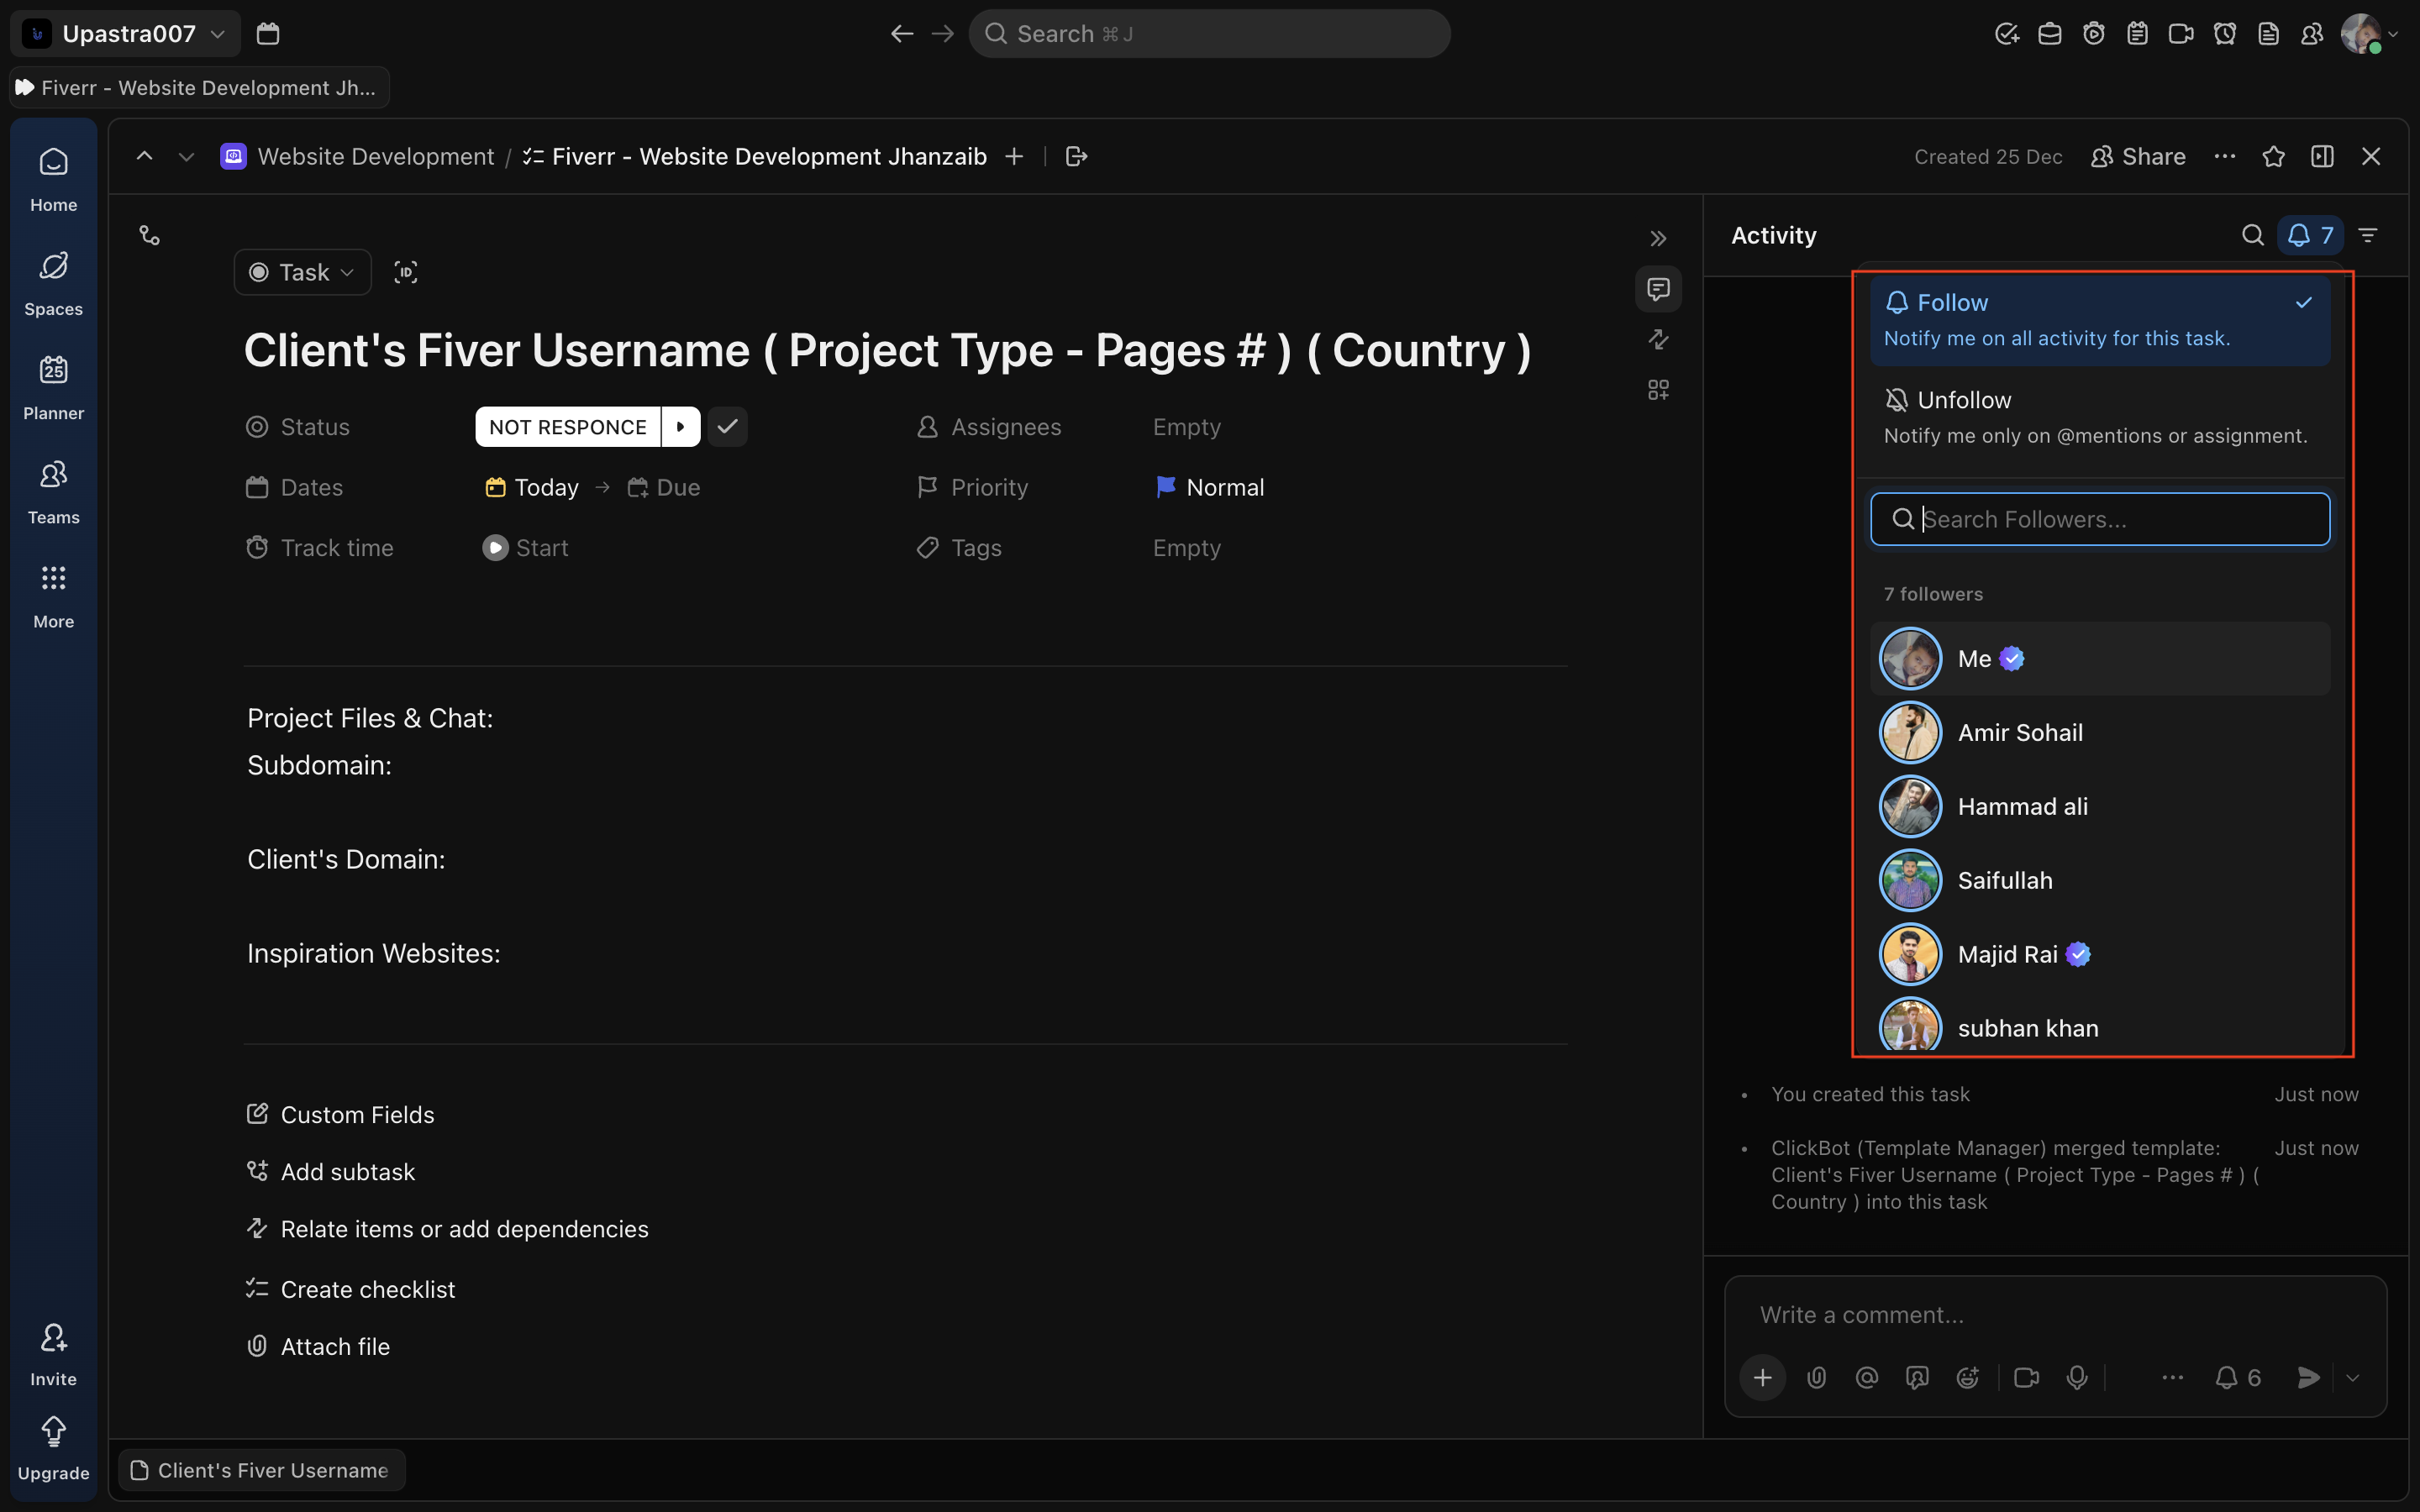
🔹 Step 9: Verify Watchers
- Open Followers / Watchers
- Confirm core team members are already added by template
- Do NOT remove watchers
Screenshot: Watchers panel : It has all of the Managers Admin And Project Completion, Closer Members.
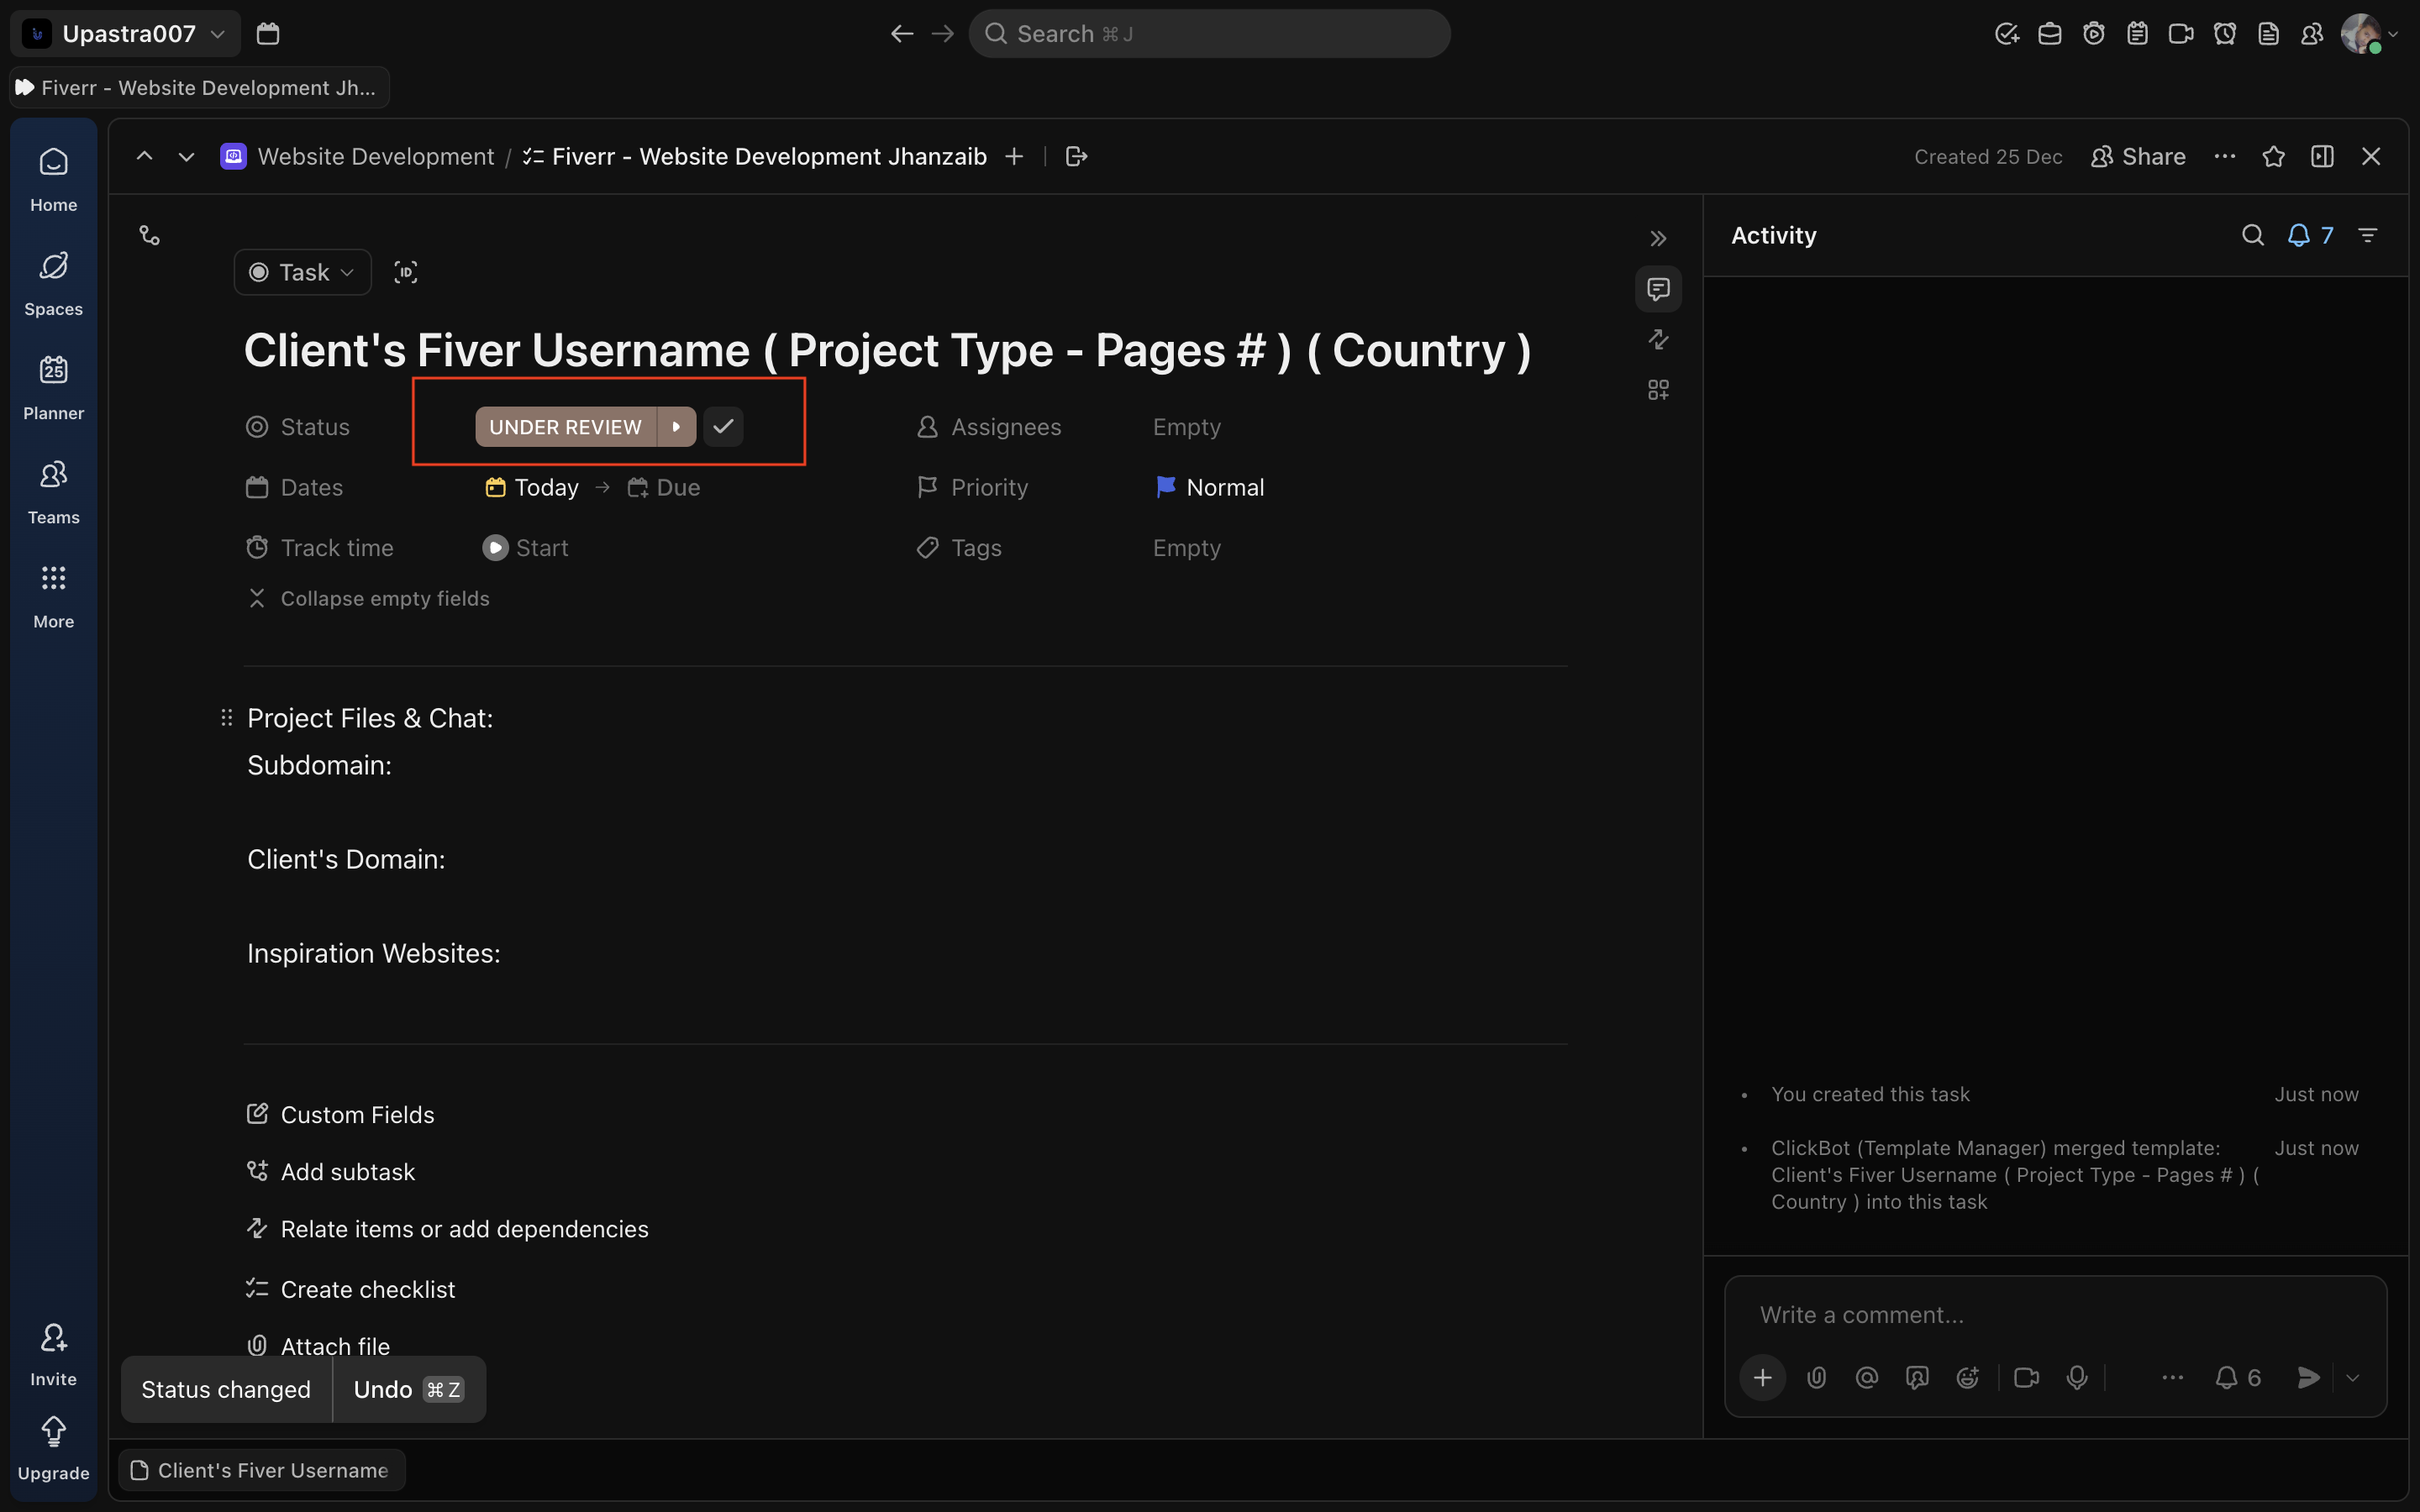
🔹 Step 10: Update Task Status
- Only after all above fields are filled
- Move task to the appropriate next status (e.g. Under Review )
Screenshot: Status changed to Under Review
🔍 Quality Check (Before Moving Status)
Before changing the task status from Not Response / Ready to Start:
Ensure ALL are filled:
- Correct task title
- Drive link added
- Subdomain (if created)
- Client domain (if available)
- Inspiration links (if shared)
🟡 Why it Matters
If any required field is missing, the task is considered INCOMPLETE — even if work has started.
This SOP exists to protect speed, clarity, and quality. Follow it strictly.
No comments to display
No comments to display